Planmeca Romexis Integration
EasyRx now integrates with Planmeca Romexis, version 5.3.3, allowing Planmeca scans to be exported directly to EasyRx.
SETUP
To set up the integration, follow these steps:
1. Go to Admin -- Local Settings to open the set up screen:
2. Click on Choose a Lab to Export, then click [Add]
3. On the Add Screen, enter the following:
url: https://app.easyrxortho.com
name: EasyRx
Logo: browse to where you downloaded the Big E logo. The Big E logo is attached at the end of this article, available for download.
Click OK to save and Ok on the next screen. Once configured, EasyRx will be displayed as a lab to export:
Click Save at the bottom of the page to save your work. After restarting, you will be required to restart Romexis.
Using the Integration.
To use the integration, open a patient with STL Models. On the Model Export screen, EasyRx will be displayed:
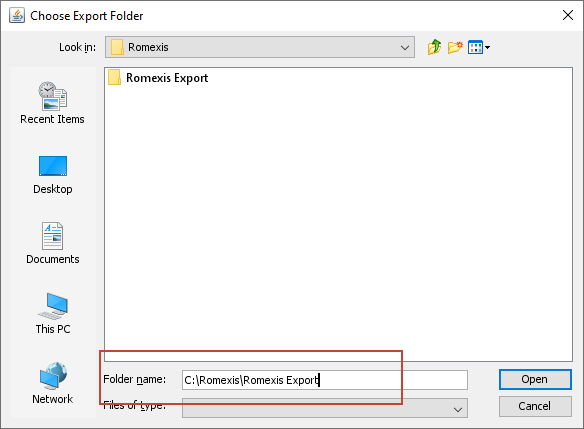
When EasyRx is clicked, you are prompted for the folder to export the scans. You can set up a local folder or a network folder. If you want the exported scans available to anyone on the network, set up a network folder.

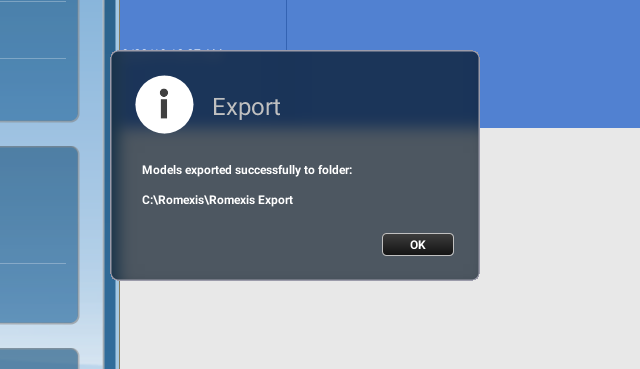
Once the scans are successfully exported, a success message is displayed:

The STL files are exported to the selected folder. The naming format is the patient's ID_lower and patient_upper
Next Step is open EasyRx, browse the correct patient and attach the scans
Tip: Hold down [Ctrl] + click to select both files at the same time.
That is it! Now the scans are in EasyRx, The scans will be automatically Optimized and can be prepped for 3D printing.
As always, we are here if you have questions.
Thanks,
Thanks,
The EasyRx Team
Related Articles
All 3rd Party Integrations with Links for Setup
Practice Management (available ONLY for Standard and Premium EasyRx accounts): CareStream Orthotrac: OrthoTrac Integration - How to setup and use the EasyRx / Carestream (CS) OrthoTrac integration Cloud 9: Setting Up and Using The Cloud 9 Integration ...All Scanner integration Links
This list shows all of our current 3D Scanner integrations. Please reach out to 888 340 3751 with any questions 3Disc: https://support.easyrxortho.com/portal/en/kb/articles/3disc-integ Alliedstar: ...TOPS Integration Window not Allowing Certain Actions
Troubleshooting TOPS Integration Window Issues on Mac When using EasyRx through TOPS on a Mac, some users have reported encountering the following issues: 1. Faint Patient Name: The patient name appears very faint and may be difficult to read. 2. ...Enabling the OrthoAnalyzer Integration
Enabling the OrthoAnalyzer integration To complement our 3Shape Communicate integration and to continue to integrate EasyRx with the 3Shape ecosystem, we've added a new integration with their OrthoAnalyzer software. The integration supports: Entering ...GreyFinch Integration with EasyRx
Our latest in our growing list of integrations, GreyFinch is a Practice Management software that has come onto the scene. It is among our most extensive integrations, writing notes back to the Tx card and showing a clear visual of if the Patient is ...